In this example, we demonstrate how you can gradually inform new employees about the company and their new job in the first few days and weeks after their start date with the help of group assignments.
You can find more detailed and general information on the topic of automation here.
¶ Step 1
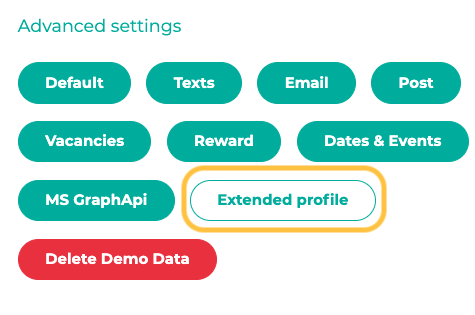
If not yet activated, activate the extended profile fields in the administration menu under Settings and User. Navigate to the option Activate additional employee profile fields.

¶ Step 2
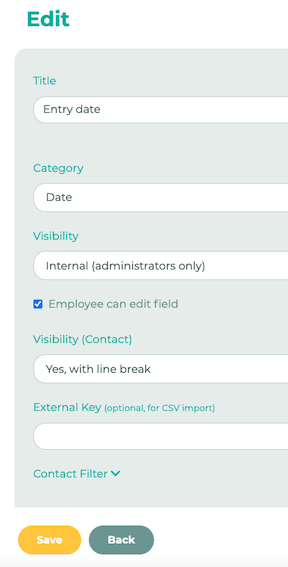
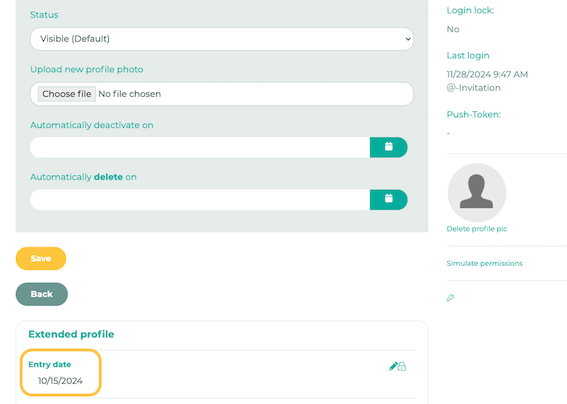
Under the new menu item Extended profile, create a new field, e.g. "Entry date". Please make sure to select the category “Date”.
¶ Step 3
You now need to set up the appropriate values for the Entry Date field we just created. This can be done either manually for each employee using the CSV Import (Extend CSV List) or, in the case of a LOLYO plus version, directly via the individual interface.
Manual: The field can be edited directly by an administrator in the administration menu under Employees.
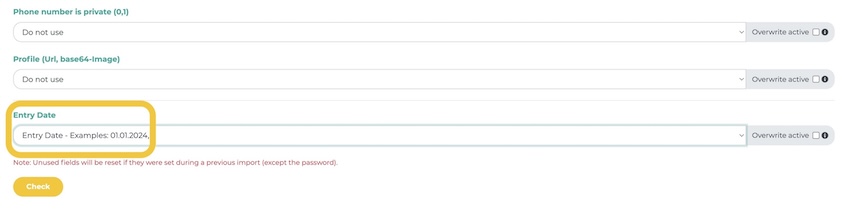
CSV import: Add a new column to the CSV list. When importing, select the values from the new column for the previously created field.

¶ Step 4
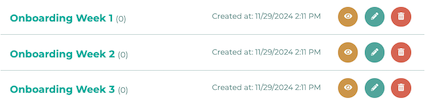
You also need corresponding groups to divide up the content. In the administration menu, we create 3 new groups under Groups. The name of the group can be chosen freely.
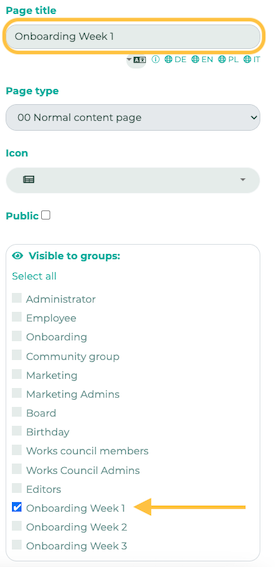
The purpose of these additional groups is that content can be separated or that content that should only be visible to new employees is assigned to precisely these groups. Please define the visibility of the content via the administration menu under Pages & menu.
¶ Step 5
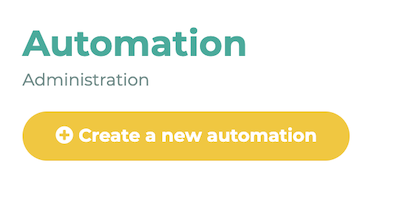
Now switch to the Automation menu item and click on Create new automation.

¶ Step 6
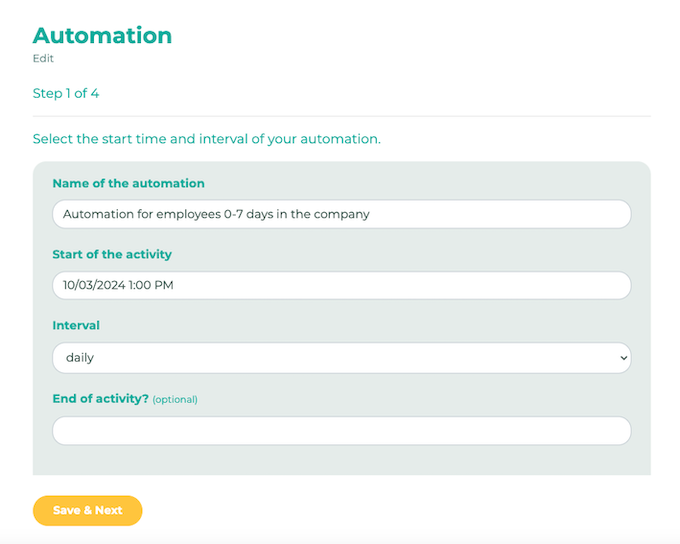
In the first step, we select the name of the automation and the daily interval, as the system should check every day whether the conditions defined in the sequence apply and the automation should be executed in sequence.
¶ Step 7:
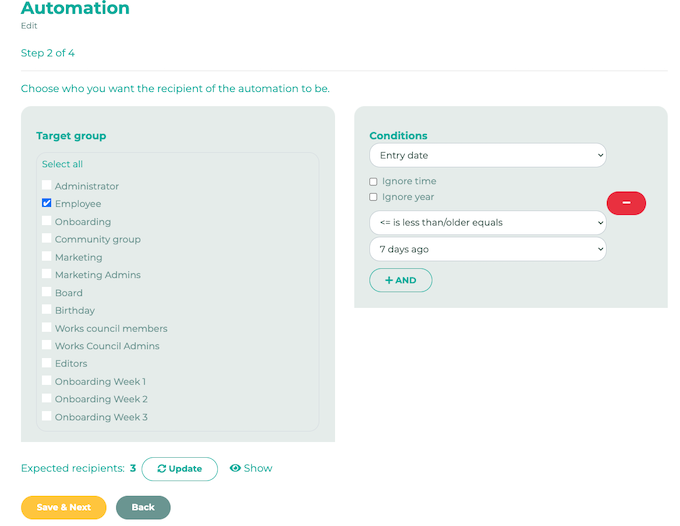
In step 2, select who you want the recipient of the automation to be. In this exemplary case, all our employees would be in the Employee group.
For this example, we want to define a time period as conditions:
If the entry date is less than/older equals tomorrow AND the entry date is greater than/younger equals 7 days - trigger action.
By clicking on Update, you can see the number of affected employees to whom the just defined conditions would apply. You can also click on Show to display exactly these people at a glance.
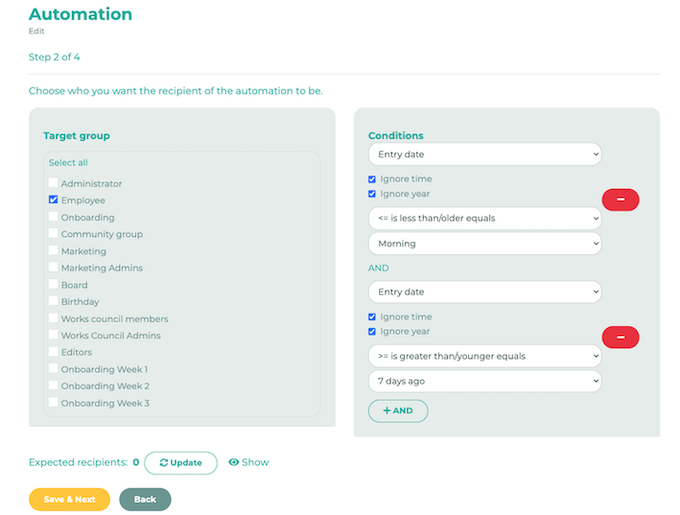
If the number of expected recipients remains at 0, please check the conditions of the automation again, or check whether the values of the entry date are correct (if there is no entry date that exists in the period "7 days ago to tomorrow", 0 expected recipients would be correct).
¶ Step 8
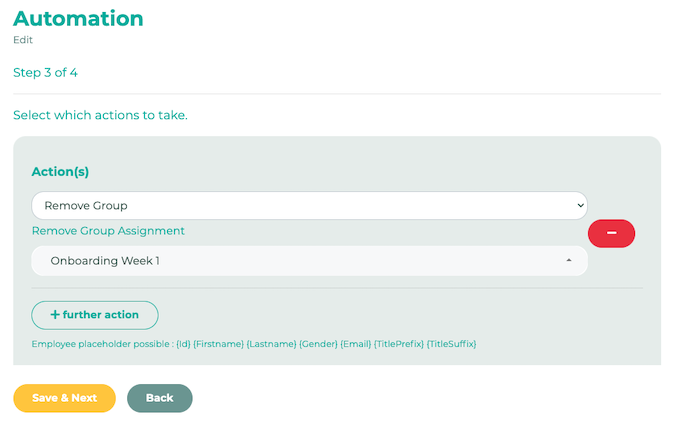
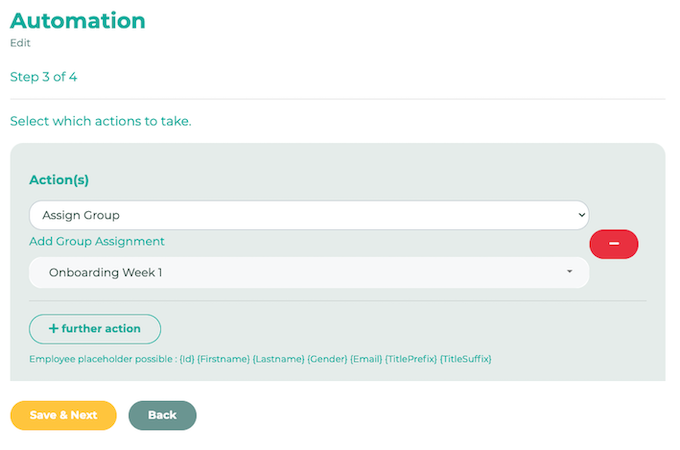
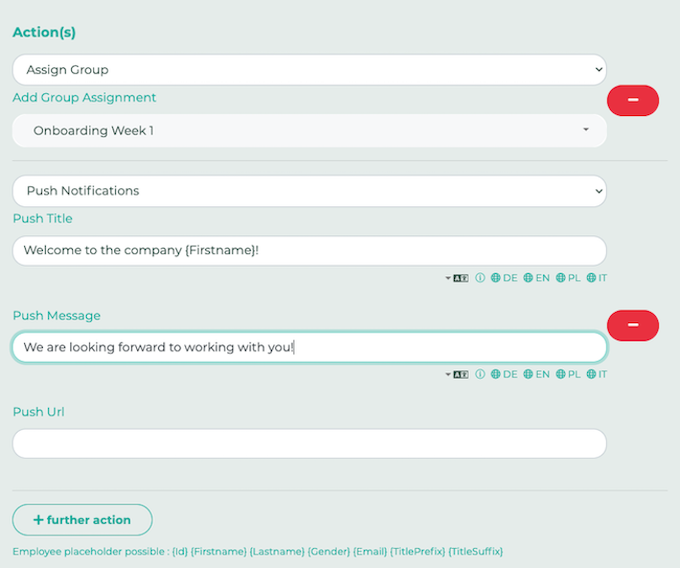
In step 3, you can select the action that will be executed automatically when the previously defined conditions apply. For this example, we want the affected users to be added to the "Onboarding week 1" group.
¶ Step 9
A push message should be sent to new employees. Therefore, we click on + further action and select Push notifications. You can also use placeholders such as "{first name}" to display the respective username.
¶ Step 10
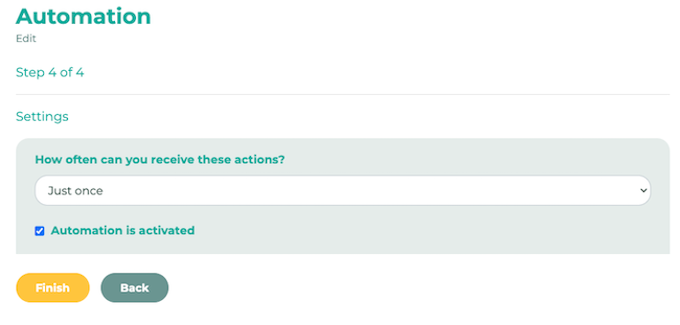
Specify how often the action should be executed. Select Just once. Activate the automation.
¶ Step 11
As described for Week 1, you can create further automations as you wish, e.g. send a push or chat message after X days to alert people to pick up their keys, or to draw attention to any other organizational matters.
¶ Step 12
To hide the onboarding information for people who are no longer considered "new" employees, please create additional automations with the Remove group action.
For example: All persons with an entry date older than 7 days should be removed from the "Onboarding week 1" group.