¶ Preparation and requirements
Step 1:
Create the app registration in Micorsoft Entra ID. Make a note of the Application (Client) and the Directory (Tenant) ID.
Step 2:
Then create a Client Secret under Certificates & Secrets. Make a note of this code too.
Step 3:
Under API Permissions, go to Add a permission. Click on Microsoft Graph and then on Application permission. Now add the following: Files.Read.All (or Sites.Read.All for upcoming features or to read further Sharepoint data). If you also want to activate the upload, you must also add the Files.Write.All permission.
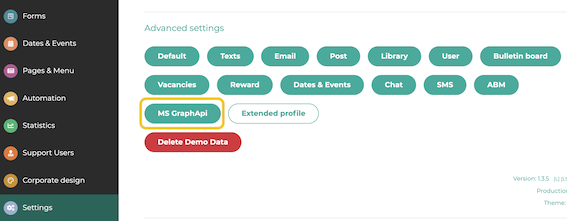
¶ Settings in LOLYO
In the administration menu, click Settings an then MS GraphApi.
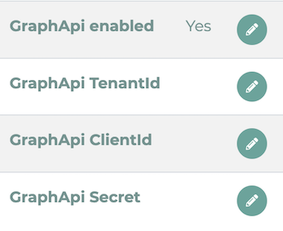
You can now enter the previously noted data. To do this, click on the pencil icon next to the relevant point.
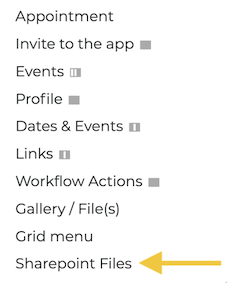
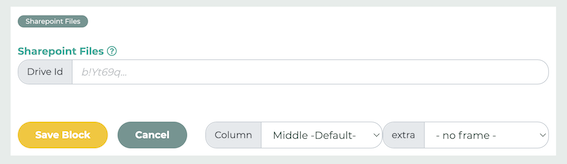
¶ Adding a content element to a page
Create a new page or edit an existing page. Under Add content, you can now select the Sharepoint Files option.
Enter the desired Drive Id of the files to be displayed.
You can now also select the File Upload and Directory isolation per user options.
Then click on Save Block.
The OneDrive files are now visible to users:

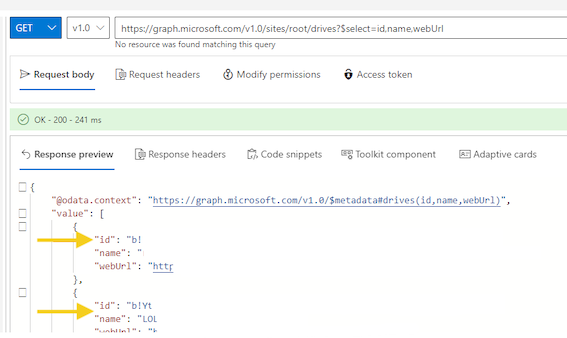
¶ How do I get a Drive Id?
As an EntraID administrator (or a person with appropriate authorizations), you can open the following link: https://developer.microsoft.com/en-us/graph/graph-explorer
By entering the query (https://graph.microsoft.com/v1.0/sites/root/drives?$select=id,name,webUrl), you will receive a list of all IDs.