You have the possibility to set up workflows using the forms in LOLYO.
This function can be used e.g. for vacation requests to be sent automatically to a previously defined person via LOLYOs chat function. Subsequently, this person can set a status for this request - e.g. "approved" or "not approved" - this information can then be sent back to the person who sent the form, or forwarded to an additional person/instance with just a few clicks.
¶ Example - vacation request
Recommendation of own users for chat messages:
Since the chat messages of a workflow are not sent in a separate chat, we recommend to create an OWN separate user, which is used only for the chat messages. Thus, the "vacation request chat" would be separated from "actual" chats.
If you change the status of this chat user to Invisible, there will be no license fees for this.
¶ Step 1
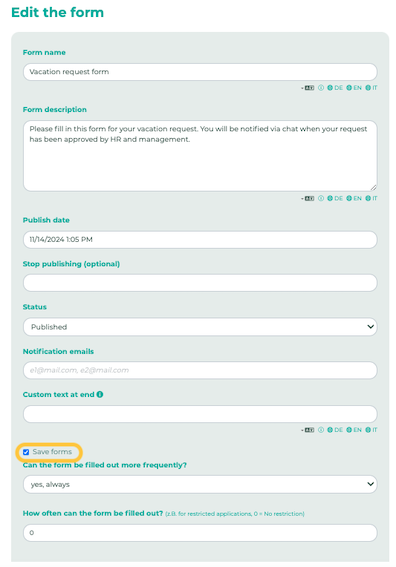
Create a new form, or edit an existing one. Select the Save forms option to make the workflow function visible.
¶ Step 2
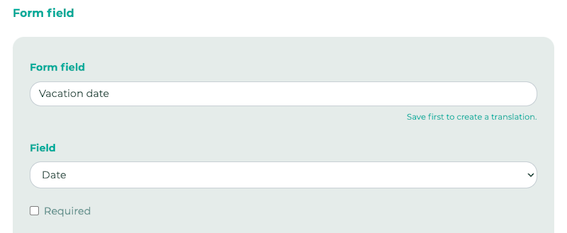
After clicking Save, you can create the form fields. For this example we need only one form field with form type Date.
¶ Step 3
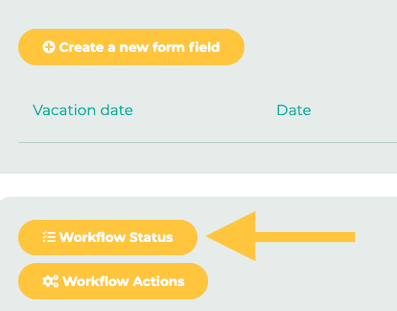
Now we set four workflow statuses.
There are two instances for this example:
HR department ("approved" and "not approved")
Management ("approved" and "not approved")
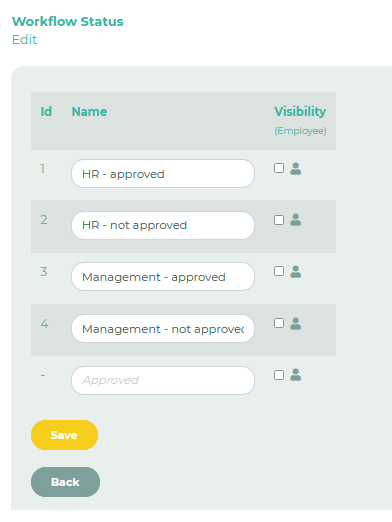
You can also optionally select whether employees can view the current status.
¶ Step 4
Now we define the actual workflow, based on the different statuses.

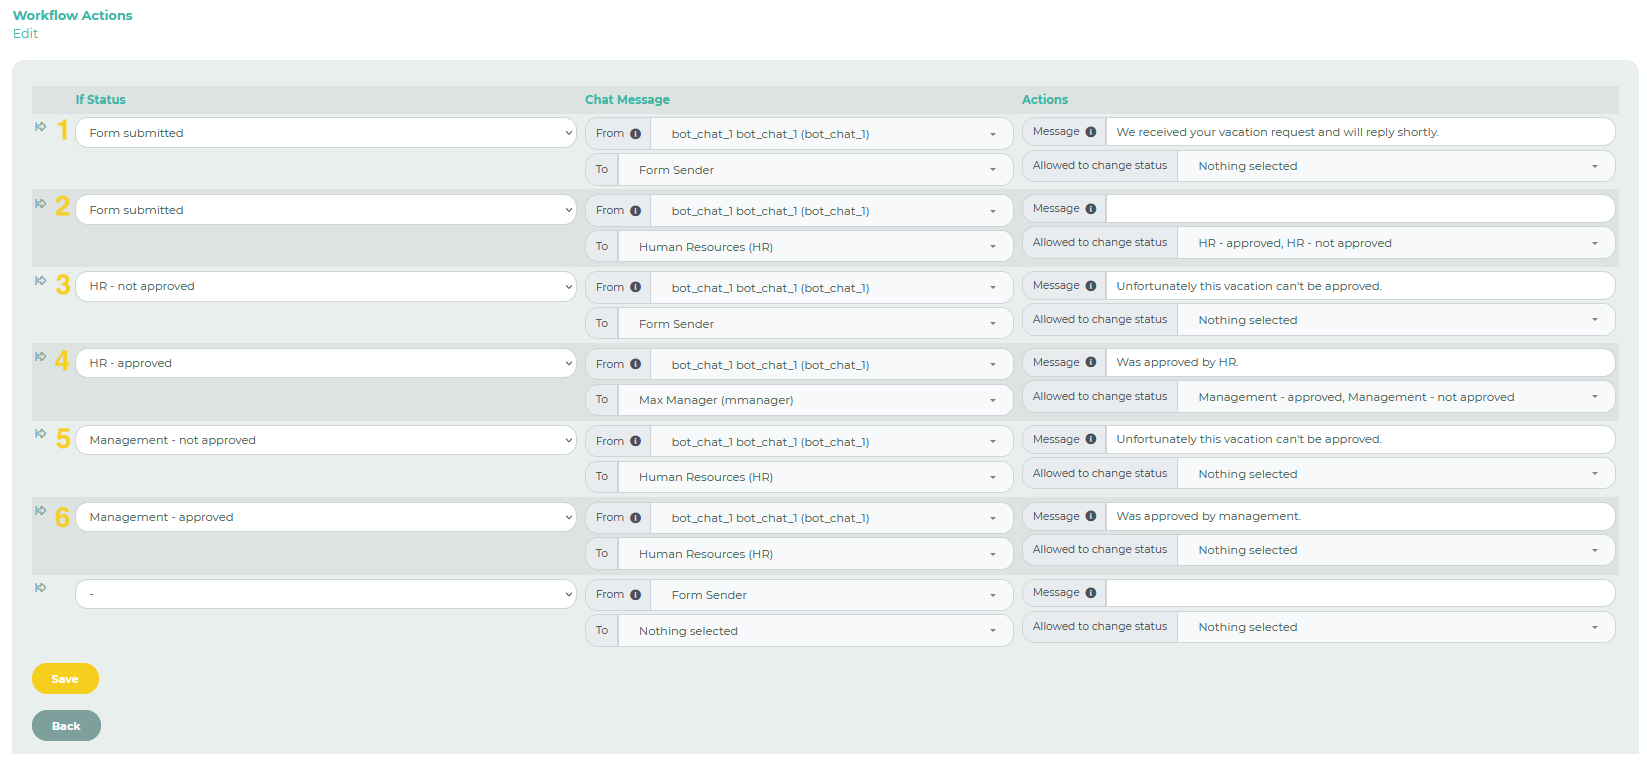
Note: Additional lines appear as soon as the current line has been saved.
1: An automatic message confirming receipt should be sent to the form sender. Allowed to change status remains disabled because the form sender is not allowed to change the status itself.

2: The second line is to send a message to the HR department at the same time as line 1, due to the submitted form. Allowed to change status is set to "HR - approved" and "HR - not approved".

3: If the HR department, here the first of two instances, does not approve the vacation, a chat message should be sent directly back to the form sender.

4: If the HR department approves the vacation, the request is further sent to management. For Allowed to change status we want management to be able to choose between "Management - approved" and "Management - not approved".

5: If management does not approve the vacation, a chat message should be sent to the HR department.

6: If management approves the vacation, feedback should also be forwarded to HR.

¶ Step 5
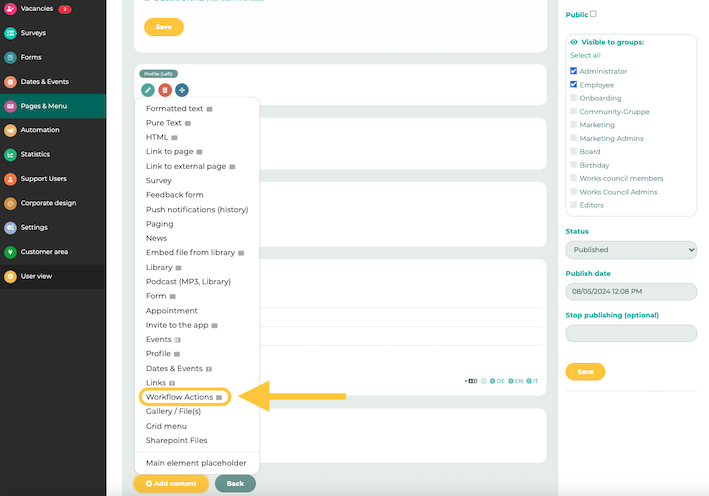
Under Pages & Menu, create a new page or edit an existing page and add the form you have just created.
You can find more information about creating pages here.
¶ Step 6
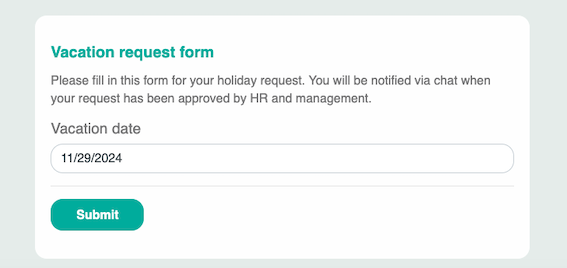
The employee now fills out the form.
¶ Step 7
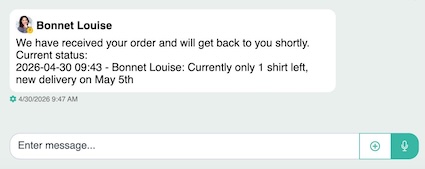
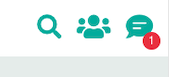
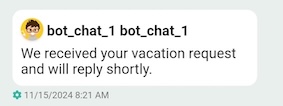
After clicking on Submit, this person should now receive a new chat message. This message contains the text that was previously defined in the workflow.
¶ Step 8
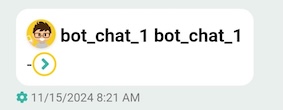
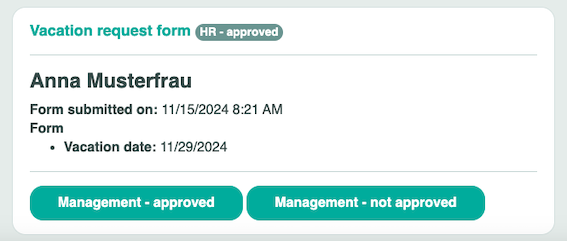
The user HR has also received a chat message. After clicking on the arrow symbol, you will get to the status selection.
Depending on the selection of the status at this point, the workflow process will be executed further, "HR - approved" in this case would forward the request further to management. If the comment feature has been enabled for a particular step, you can also add additional comments:
"Not approved" would send a chat message back to the form sender.
¶ Step 9 (optional):
If, at the end of your workflow, a specific person should transfer the status of the form to a third-party system (e.g. calendar) / should have access to the final status, we recommend adding an additional status at the end, like for example "Approved & transfered". This person should select this status in order to always have access to the final status.
¶ Comments
You can enable comments for each step in the workflow.
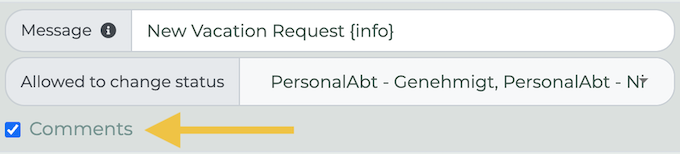
Comments can now be entered in the chat message (as shown in step 8).
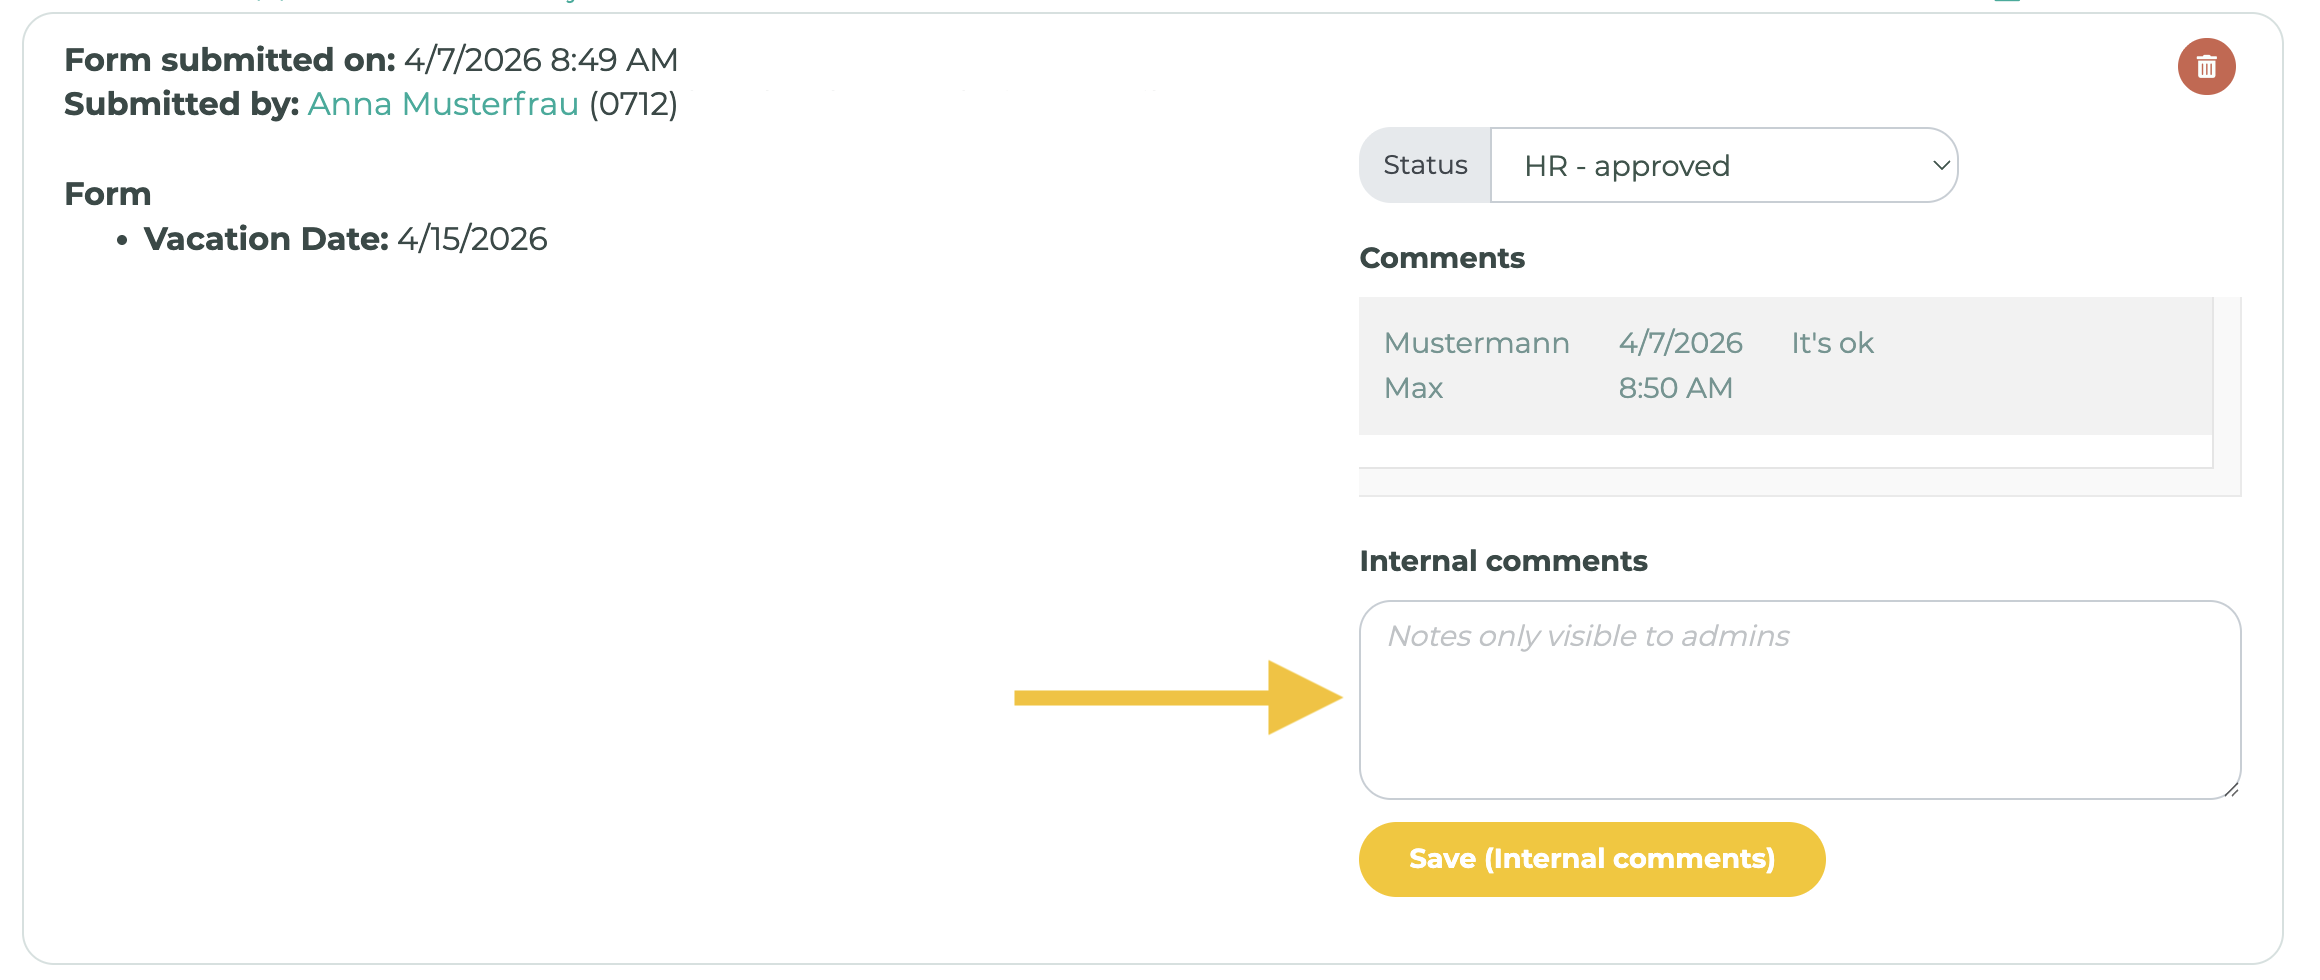
In addition, administrators can leave additional internal comments in the admin area. To do this, click “View replies” in the relevant form. Then enter your comment.
¶ Dynamic recipients
You can define dynamic recipients for your workflow forms so that the form is automatically sent to specific people. To do this, you need to create a new extended profile field. To do this, select the Employee category:
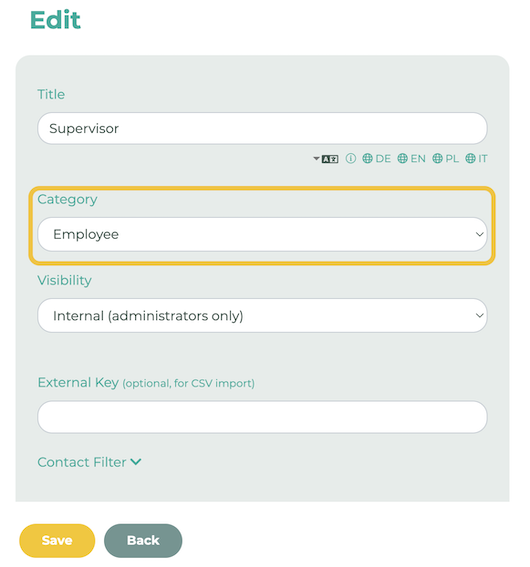
In our example, we have named the field “Supervisor”.
Switch to the profile of the respective person and select one or more employees:

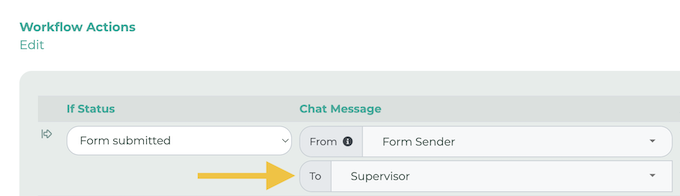
The extended profile field can now be selected as the recipient in the workflow actions. Provided that all employees have made a selection in this field, the form is sent individually to specific people. In our case, to the respective supervisor.
¶ Tip 1 - Download files
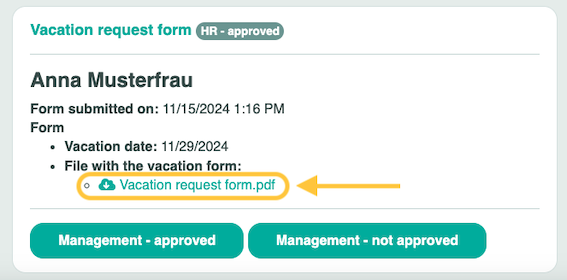
Starting with version 1.2.3, you can download content uploaded by the form sender directly in the chat or in the view where you change the status:
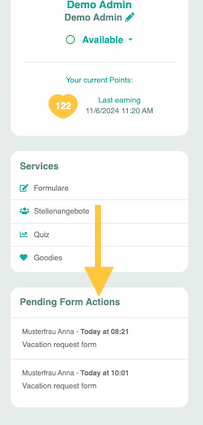
¶ Tip 2 - Workflow Status
Open workflow forms whose status can/should still be changed can also be easily inserted as a dashboard element under Pages & Menu, e.g. on the News page:
Further information on the dashboard elements can be found here.
¶ Tip 3 - Placeholder
If you want to include data or comments from the form in the message, you can use the placeholder {info} for the form data and {comments} for the comments. At each step in the workflow, you can include specific information to make the workflow as clear as possible for everyone involved.
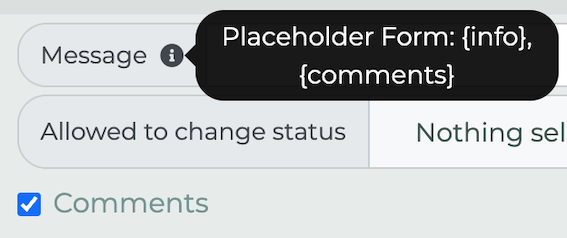
Example of a message in the user area using the {comments} placeholder: